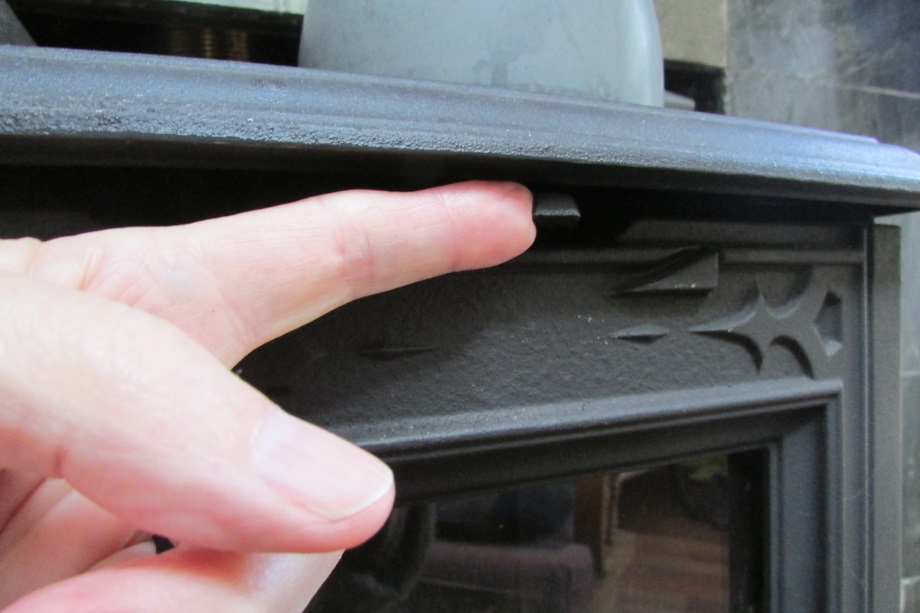
 Before you start, push the air flow lever all the way
to the right (fully open). See red arrow.
Further right - more air - faster and hotter fire. Further left -
less air - slower and cooler fire.
Before you start, push the air flow lever all the way
to the right (fully open). See red arrow.
Further right - more air - faster and hotter fire. Further left -
less air - slower and cooler fire.
Unsure how to build a fire? See beginner's instructions at the end of this doc.
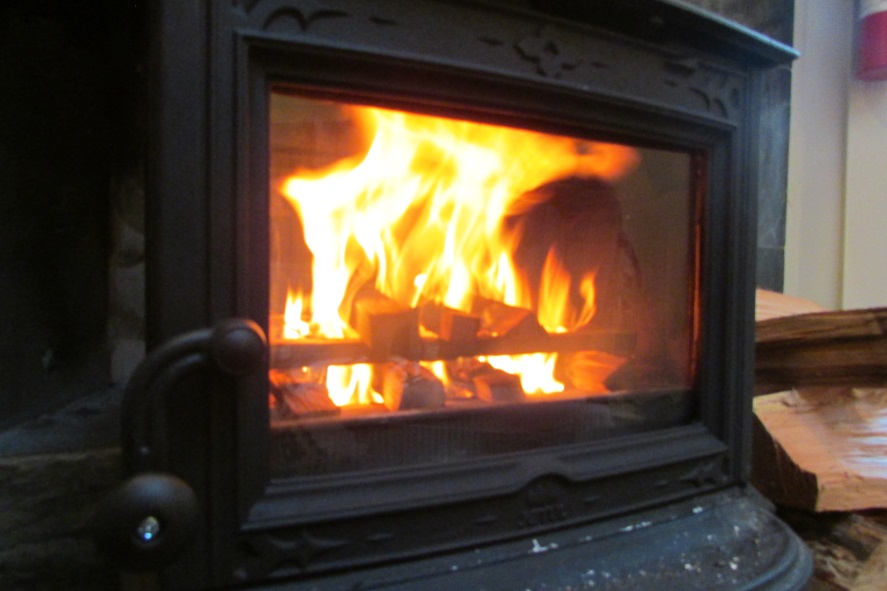
Around the Stove:
Operating the Stove:
Before you start, push the air flow lever all the way
to the right (fully open). See red arrow.
Further right - more air - faster and hotter fire. Further left -
less air - slower and cooler fire.
Where things are (other than around the stove):
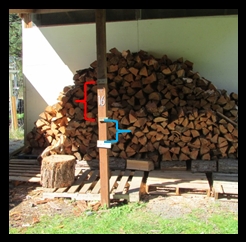 Wood: The wood pile and chopping block are out behind
the chicken coop. The "red" distance marked with a 16
in the pic is roughly the length of a log or piece
of kindling that will safely fit into the stove door
side-to-side. The "blue" distance marked in the pic
is roughly the depth of the stove - used if you're
cutting kindling pieces to place front-to-back in the stove.
Wood: The wood pile and chopping block are out behind
the chicken coop. The "red" distance marked with a 16
in the pic is roughly the length of a log or piece
of kindling that will safely fit into the stove door
side-to-side. The "blue" distance marked in the pic
is roughly the depth of the stove - used if you're
cutting kindling pieces to place front-to-back in the stove.
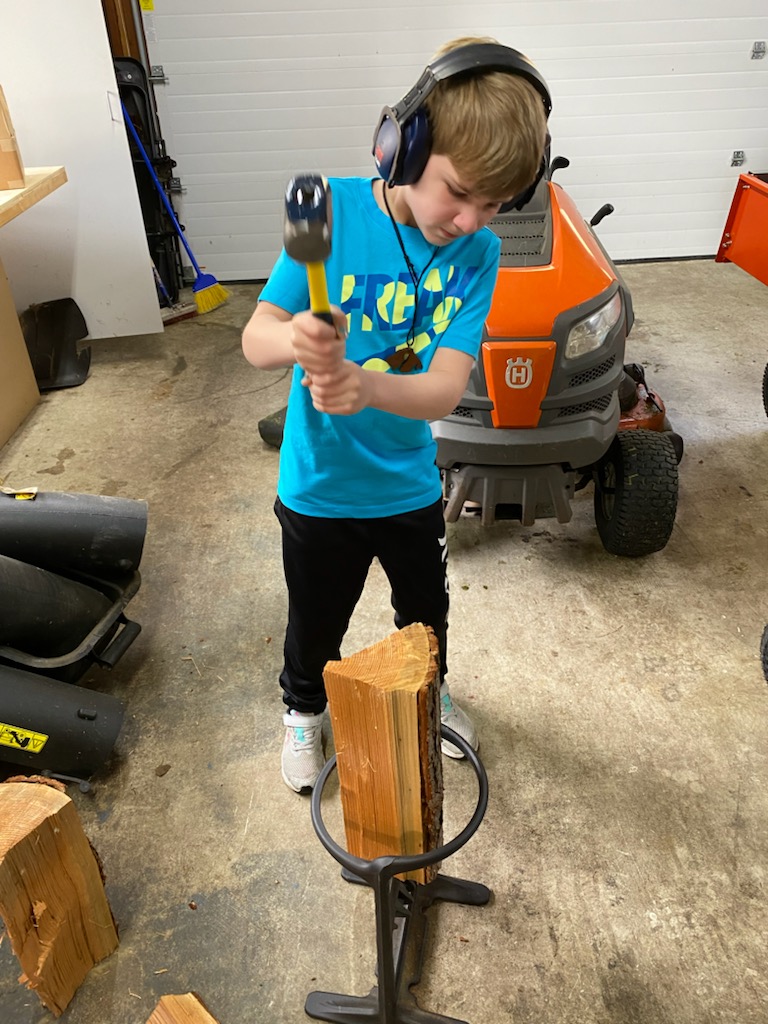 Kidsafe Kindling Maker: There's a kid-safe kindling
maker in the garage (I think) with it's little sledge hammer.
It's kid safe in the sense that there's no sharp things flying around.
There's Myles making some kindling. You can take it outside to use
if you want.
Kidsafe Kindling Maker: There's a kid-safe kindling
maker in the garage (I think) with it's little sledge hammer.
It's kid safe in the sense that there's no sharp things flying around.
There's Myles making some kindling. You can take it outside to use
if you want.
Fire Building For Beginners
 Push the air flow lever all the way to the right.
This will give your fire lots of air.
Push the air flow lever all the way to the right.
This will give your fire lots of air.
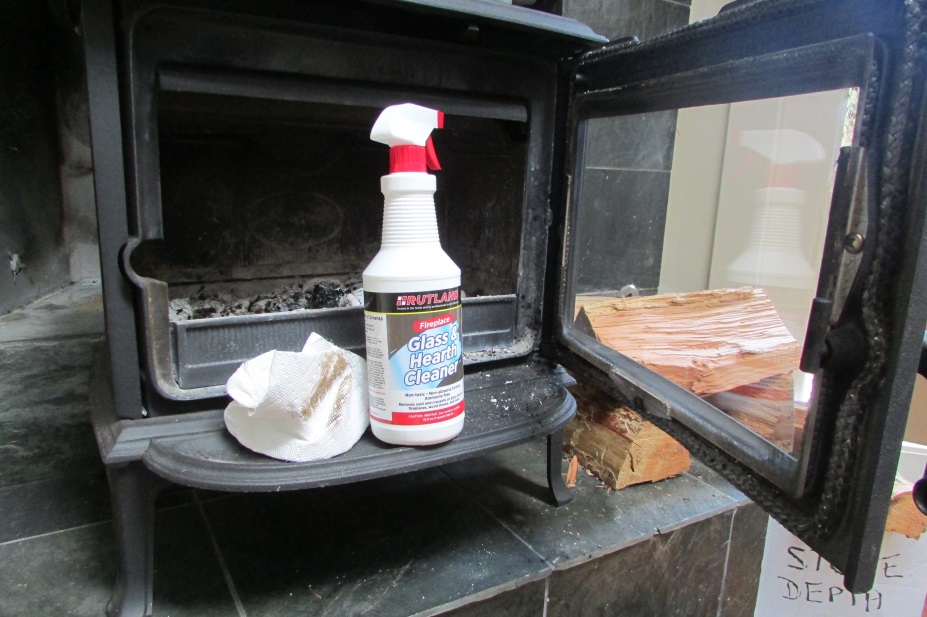 Open the woodstove glass door by lifting the handle (hard)
and swinging the door open. If the inside of the glass is
dirty, give it a quick clean with the woodstove glass
cleaner (which is stored in the cleaning supplies cabinet
above the toilet in the kitchen bathroom).
Open the woodstove glass door by lifting the handle (hard)
and swinging the door open. If the inside of the glass is
dirty, give it a quick clean with the woodstove glass
cleaner (which is stored in the cleaning supplies cabinet
above the toilet in the kitchen bathroom).
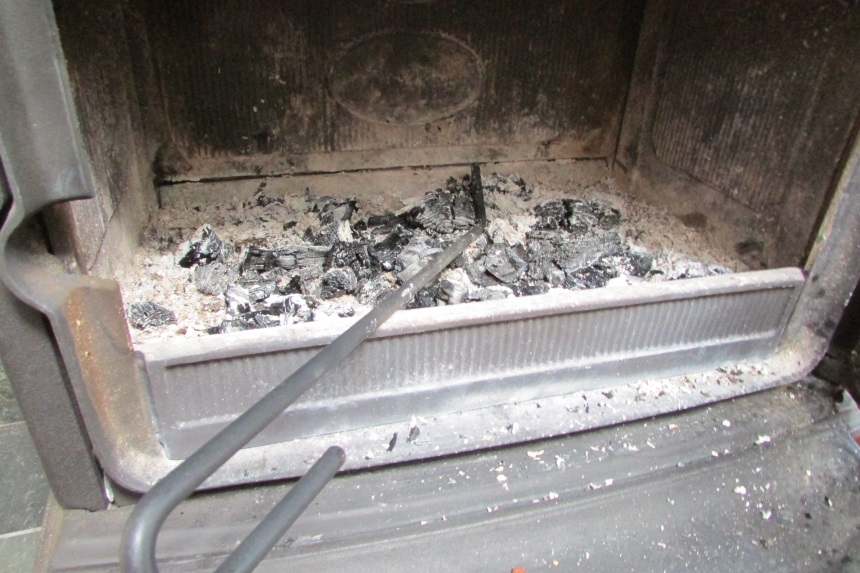 Spread out the remains of the previous fire with the metal poker.
 There are two boxes of kindling by the wood stove. One is labeled
"stove width", and the other is labeled "stove depth".
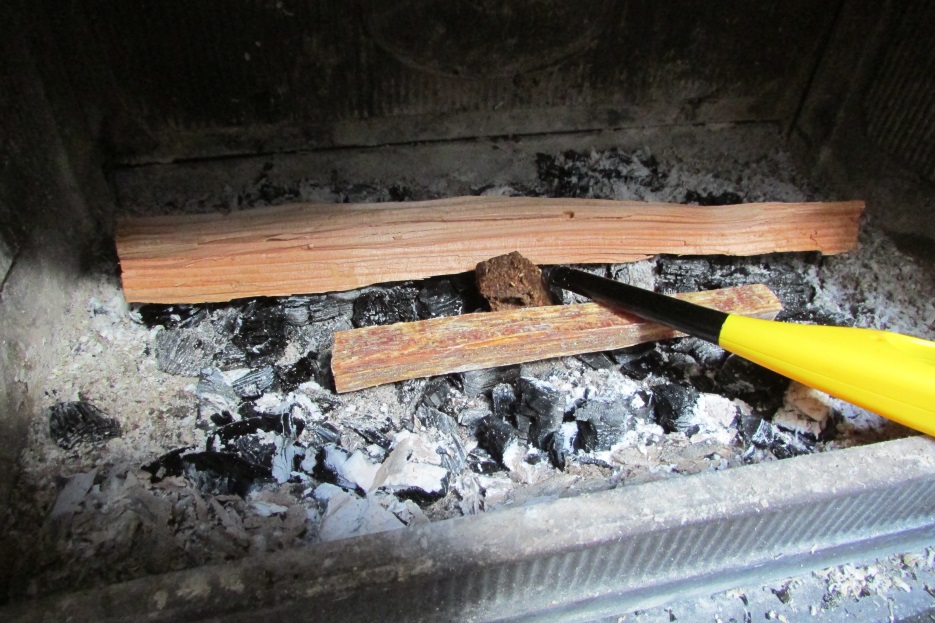
Lay a "stove width" kindling stick towards the back of the stove.
Put a chunk of wax fire starter just in front of the kindling stick. Lay a "fatwood" stick just in front of the wax fire starter. Now light the wax fire starter - it will burn very slowly like a candle.
There are two boxes of kindling by the wood stove. One is labeled
"stove width", and the other is labeled "stove depth".
Lay a "stove width" kindling stick towards the back of the stove.
Put a chunk of wax fire starter just in front of the kindling stick. Lay a "fatwood" stick just in front of the wax fire starter. Now light the wax fire starter - it will burn very slowly like a candle.
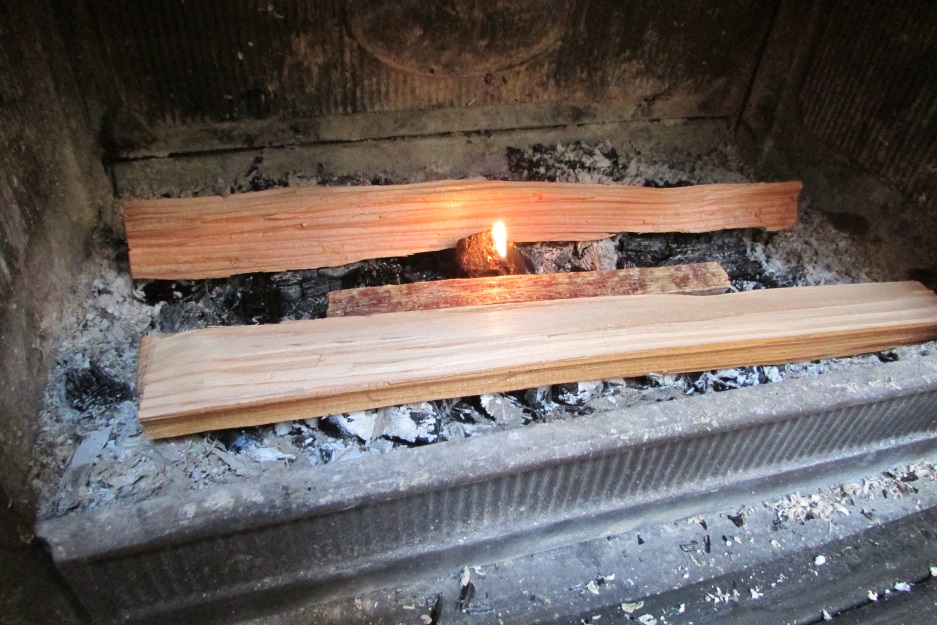 Lay another "stove width" kindling stick in front of the fatwood stick.
Your fire should now look like this:
Lay another "stove width" kindling stick in front of the fatwood stick.
Your fire should now look like this:
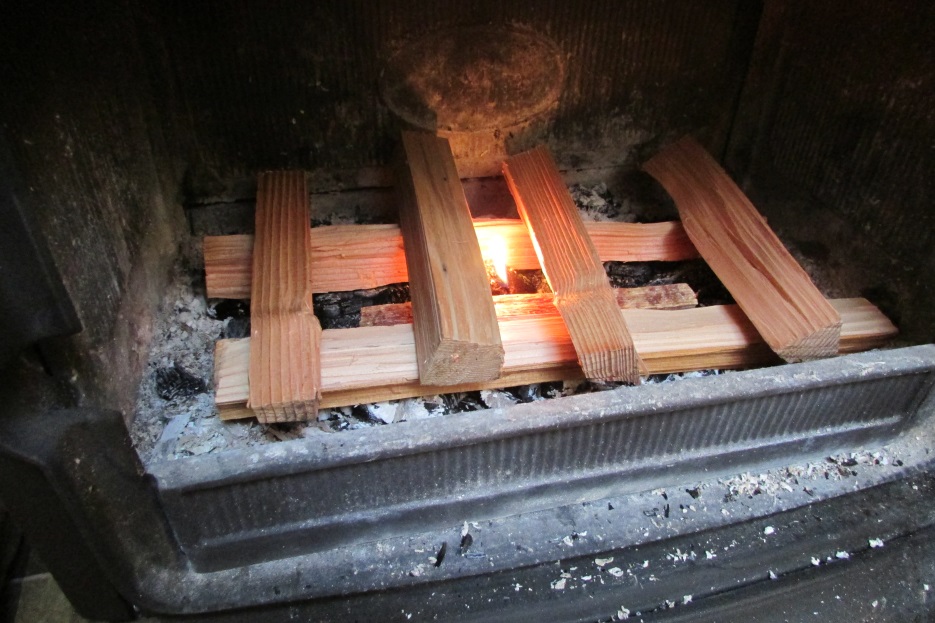 Now lay four "stove depth" kindling sticks on your two "stove
width" kindling sticks. The outer two should be near the ends
of the lower sticks, and the inner two should be just on either
side of the small flame. Your fire should now look like this:
Now lay four "stove depth" kindling sticks on your two "stove
width" kindling sticks. The outer two should be near the ends
of the lower sticks, and the inner two should be just on either
side of the small flame. Your fire should now look like this:
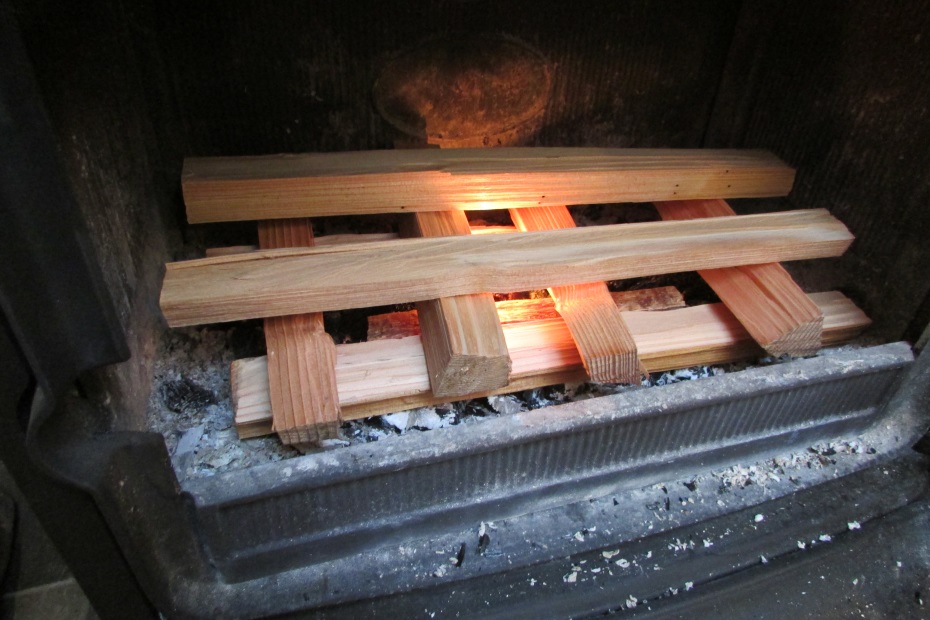 Lay two more "stove width" kindling sticks across the
four "stove depth" kindling sticks. Put them a little
closer together than the bottom two "stove width" kindling
sticks. Your fire should now look like this:
Lay two more "stove width" kindling sticks across the
four "stove depth" kindling sticks. Put them a little
closer together than the bottom two "stove width" kindling
sticks. Your fire should now look like this:
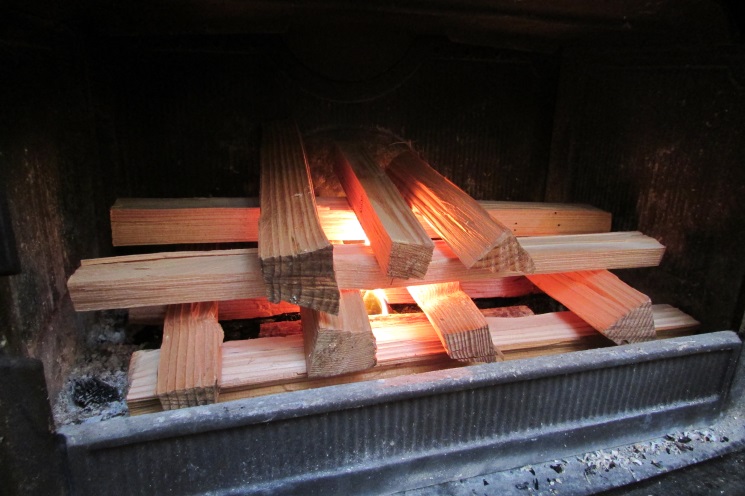 Finally, lay three "stove depth" kindling sticks fairly close
together centered on your top two "stove width" kindling sticks.
Your fire should now look like this:
Finally, lay three "stove depth" kindling sticks fairly close
together centered on your top two "stove width" kindling sticks.
Your fire should now look like this:
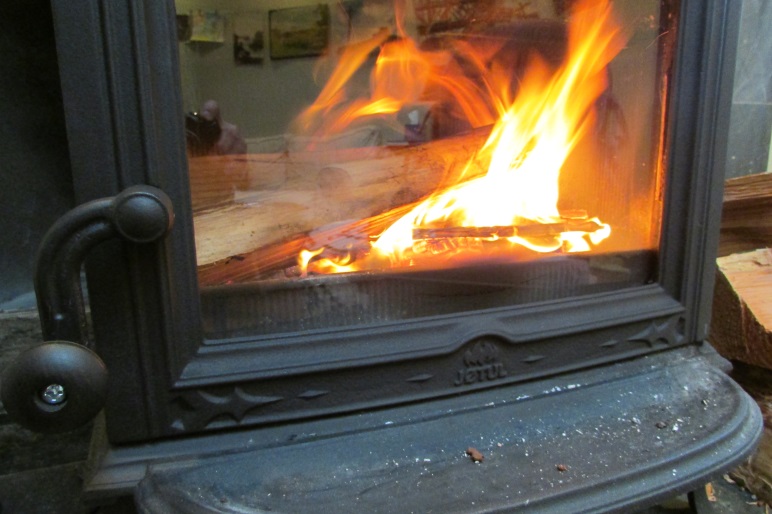
 Now close the door and push the handle down hard to feel
it "lock". The fire will slowly spread and in 5 or 10
minutes should look something like this:
Now close the door and push the handle down hard to feel
it "lock". The fire will slowly spread and in 5 or 10
minutes should look something like this:
 Eventually the kindling starts to collapse.
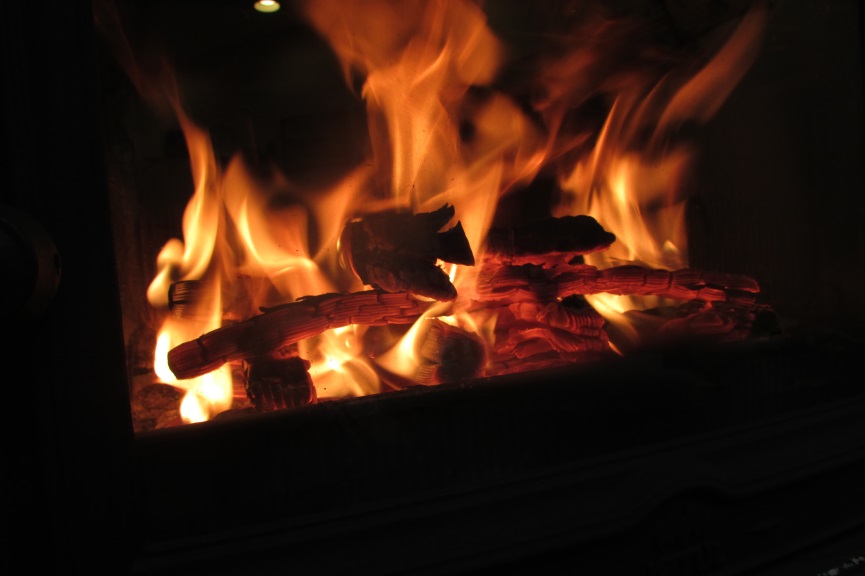
 With metal poker in hand you can open the door, add a larger log
on top of the coals, and shut the door again. And repeat as
desired. Logs Added.
With metal poker in hand you can open the door, add a larger log
on top of the coals, and shut the door again. And repeat as
desired. Logs Added.
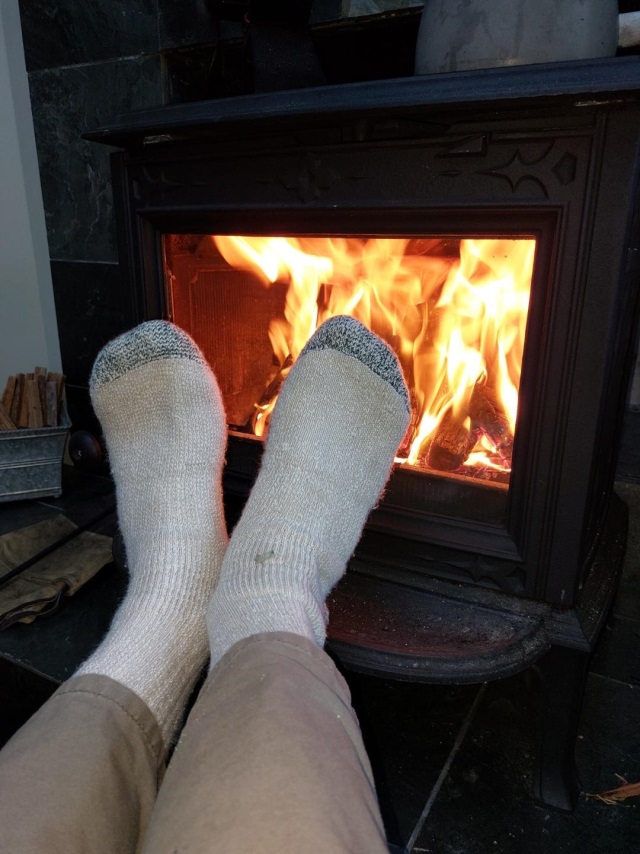 Enjoy
Enjoy